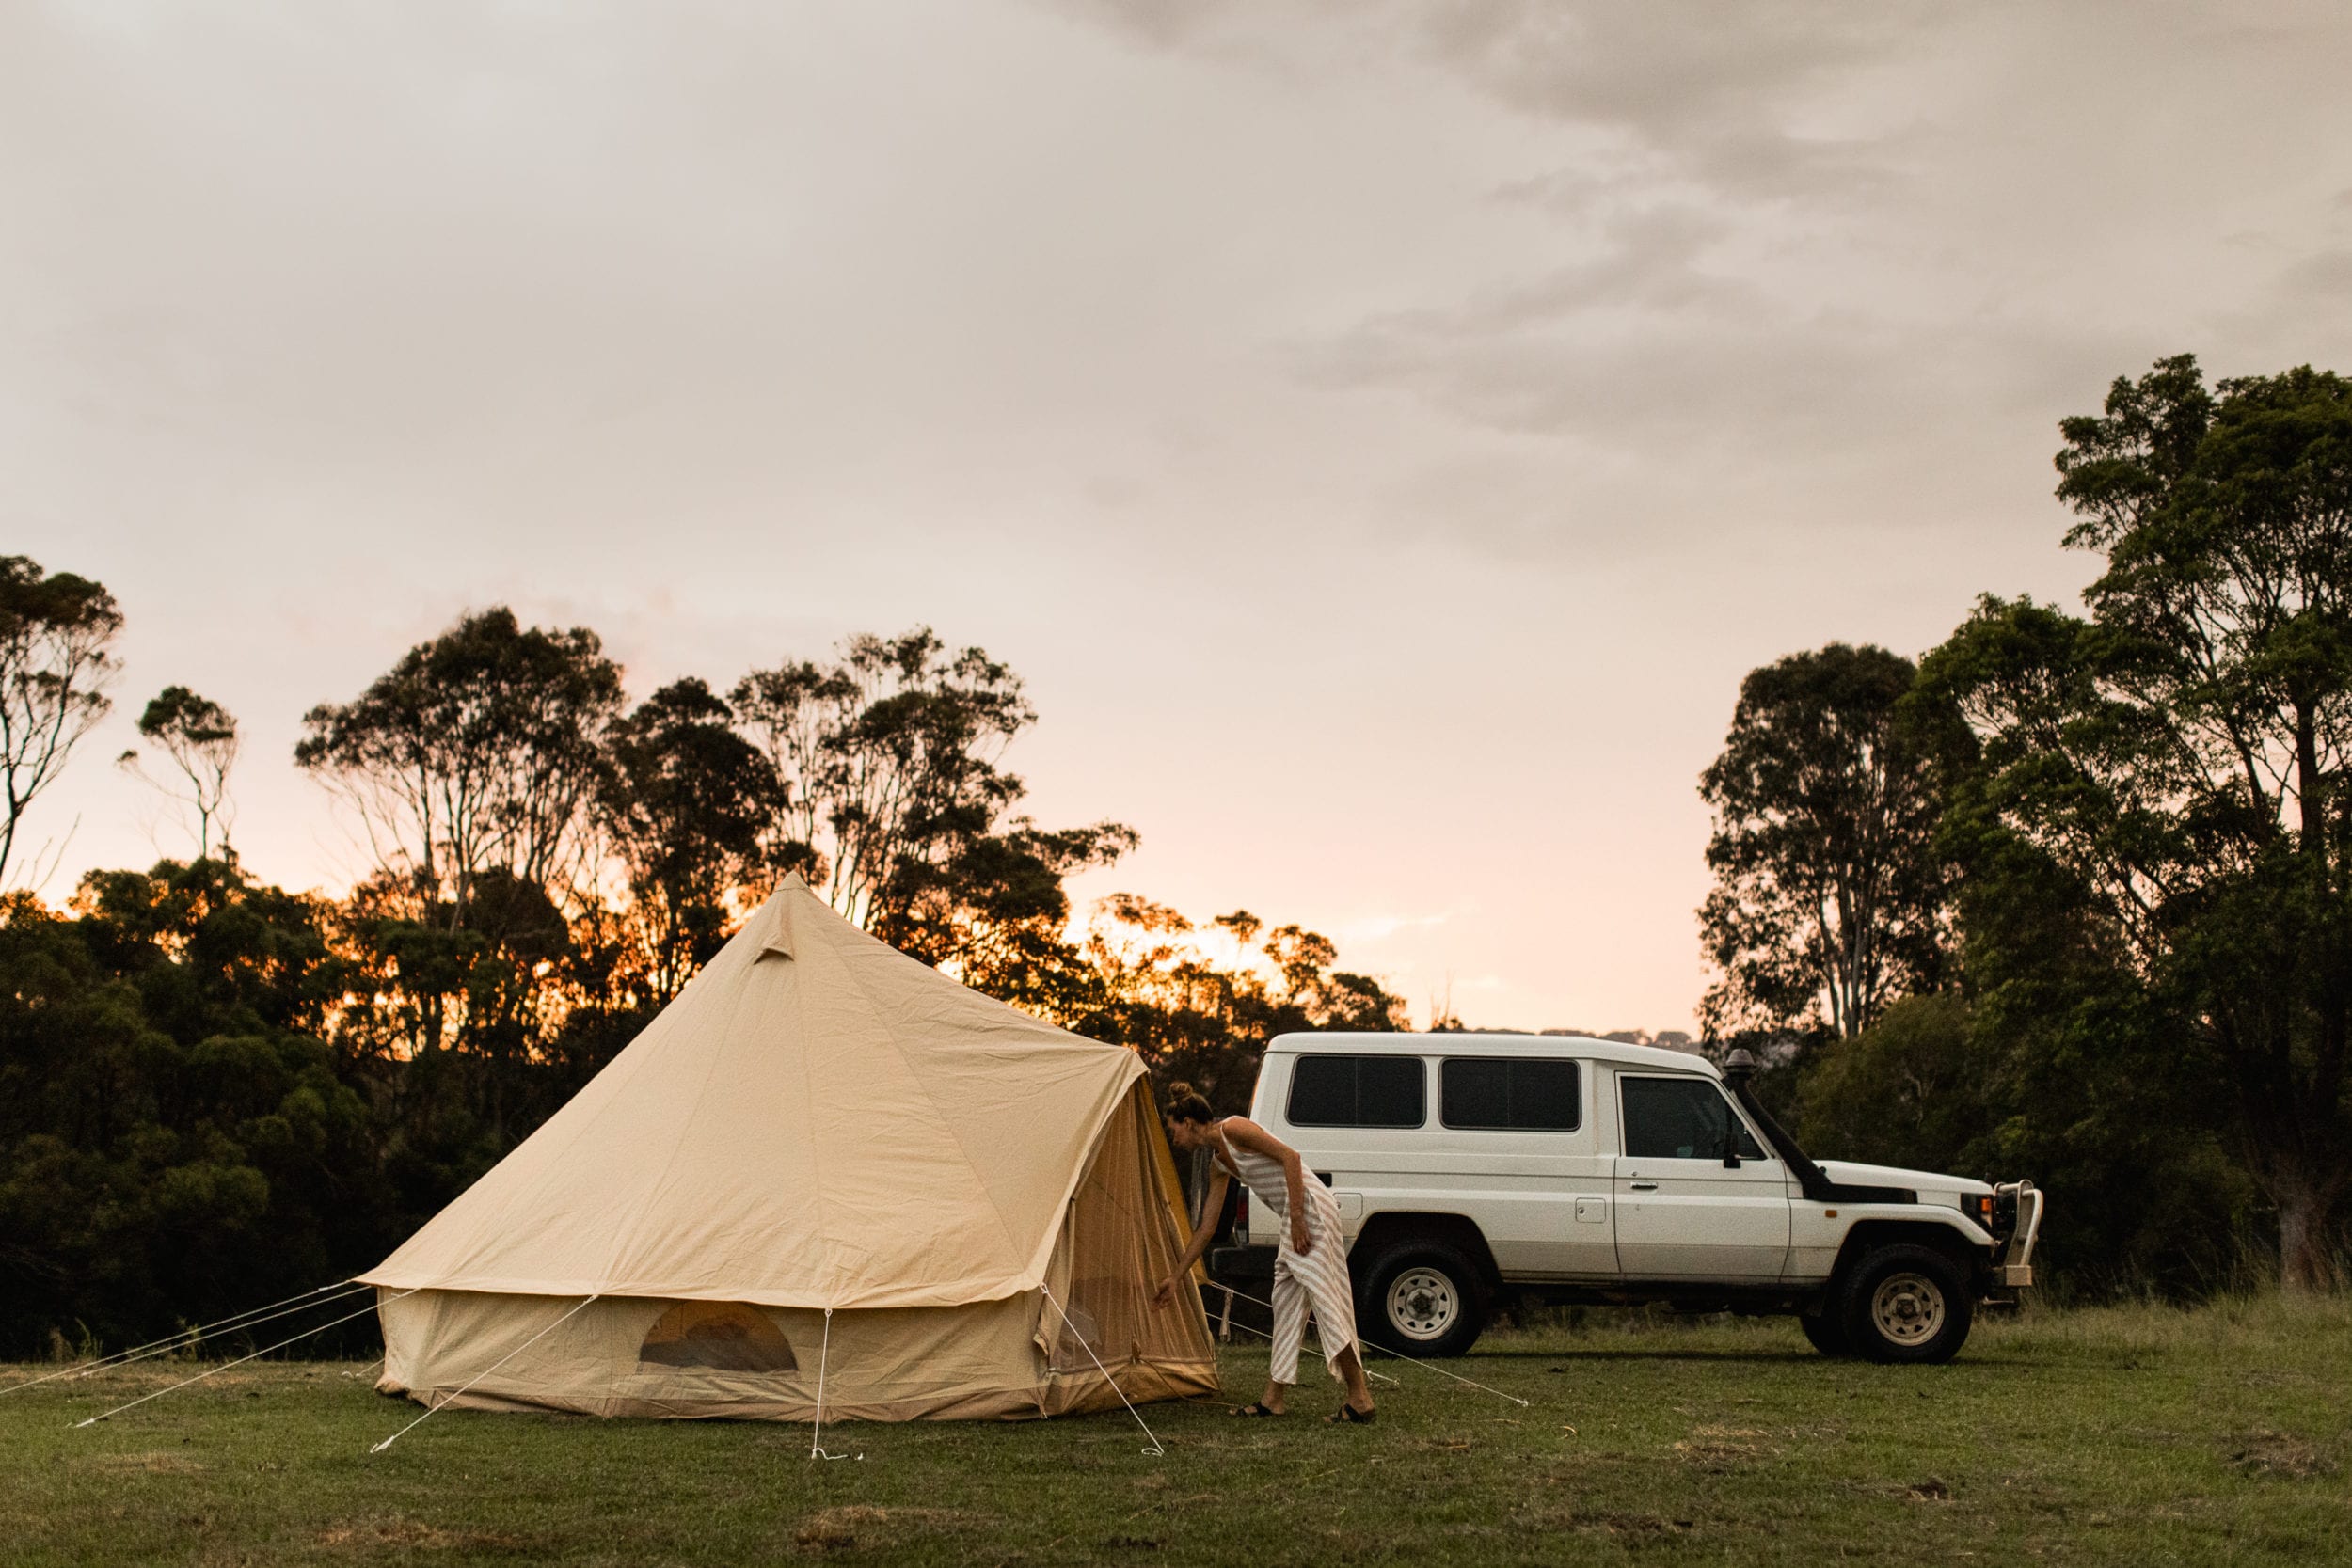
 Sunset setups. Image Bec Kilpatrick
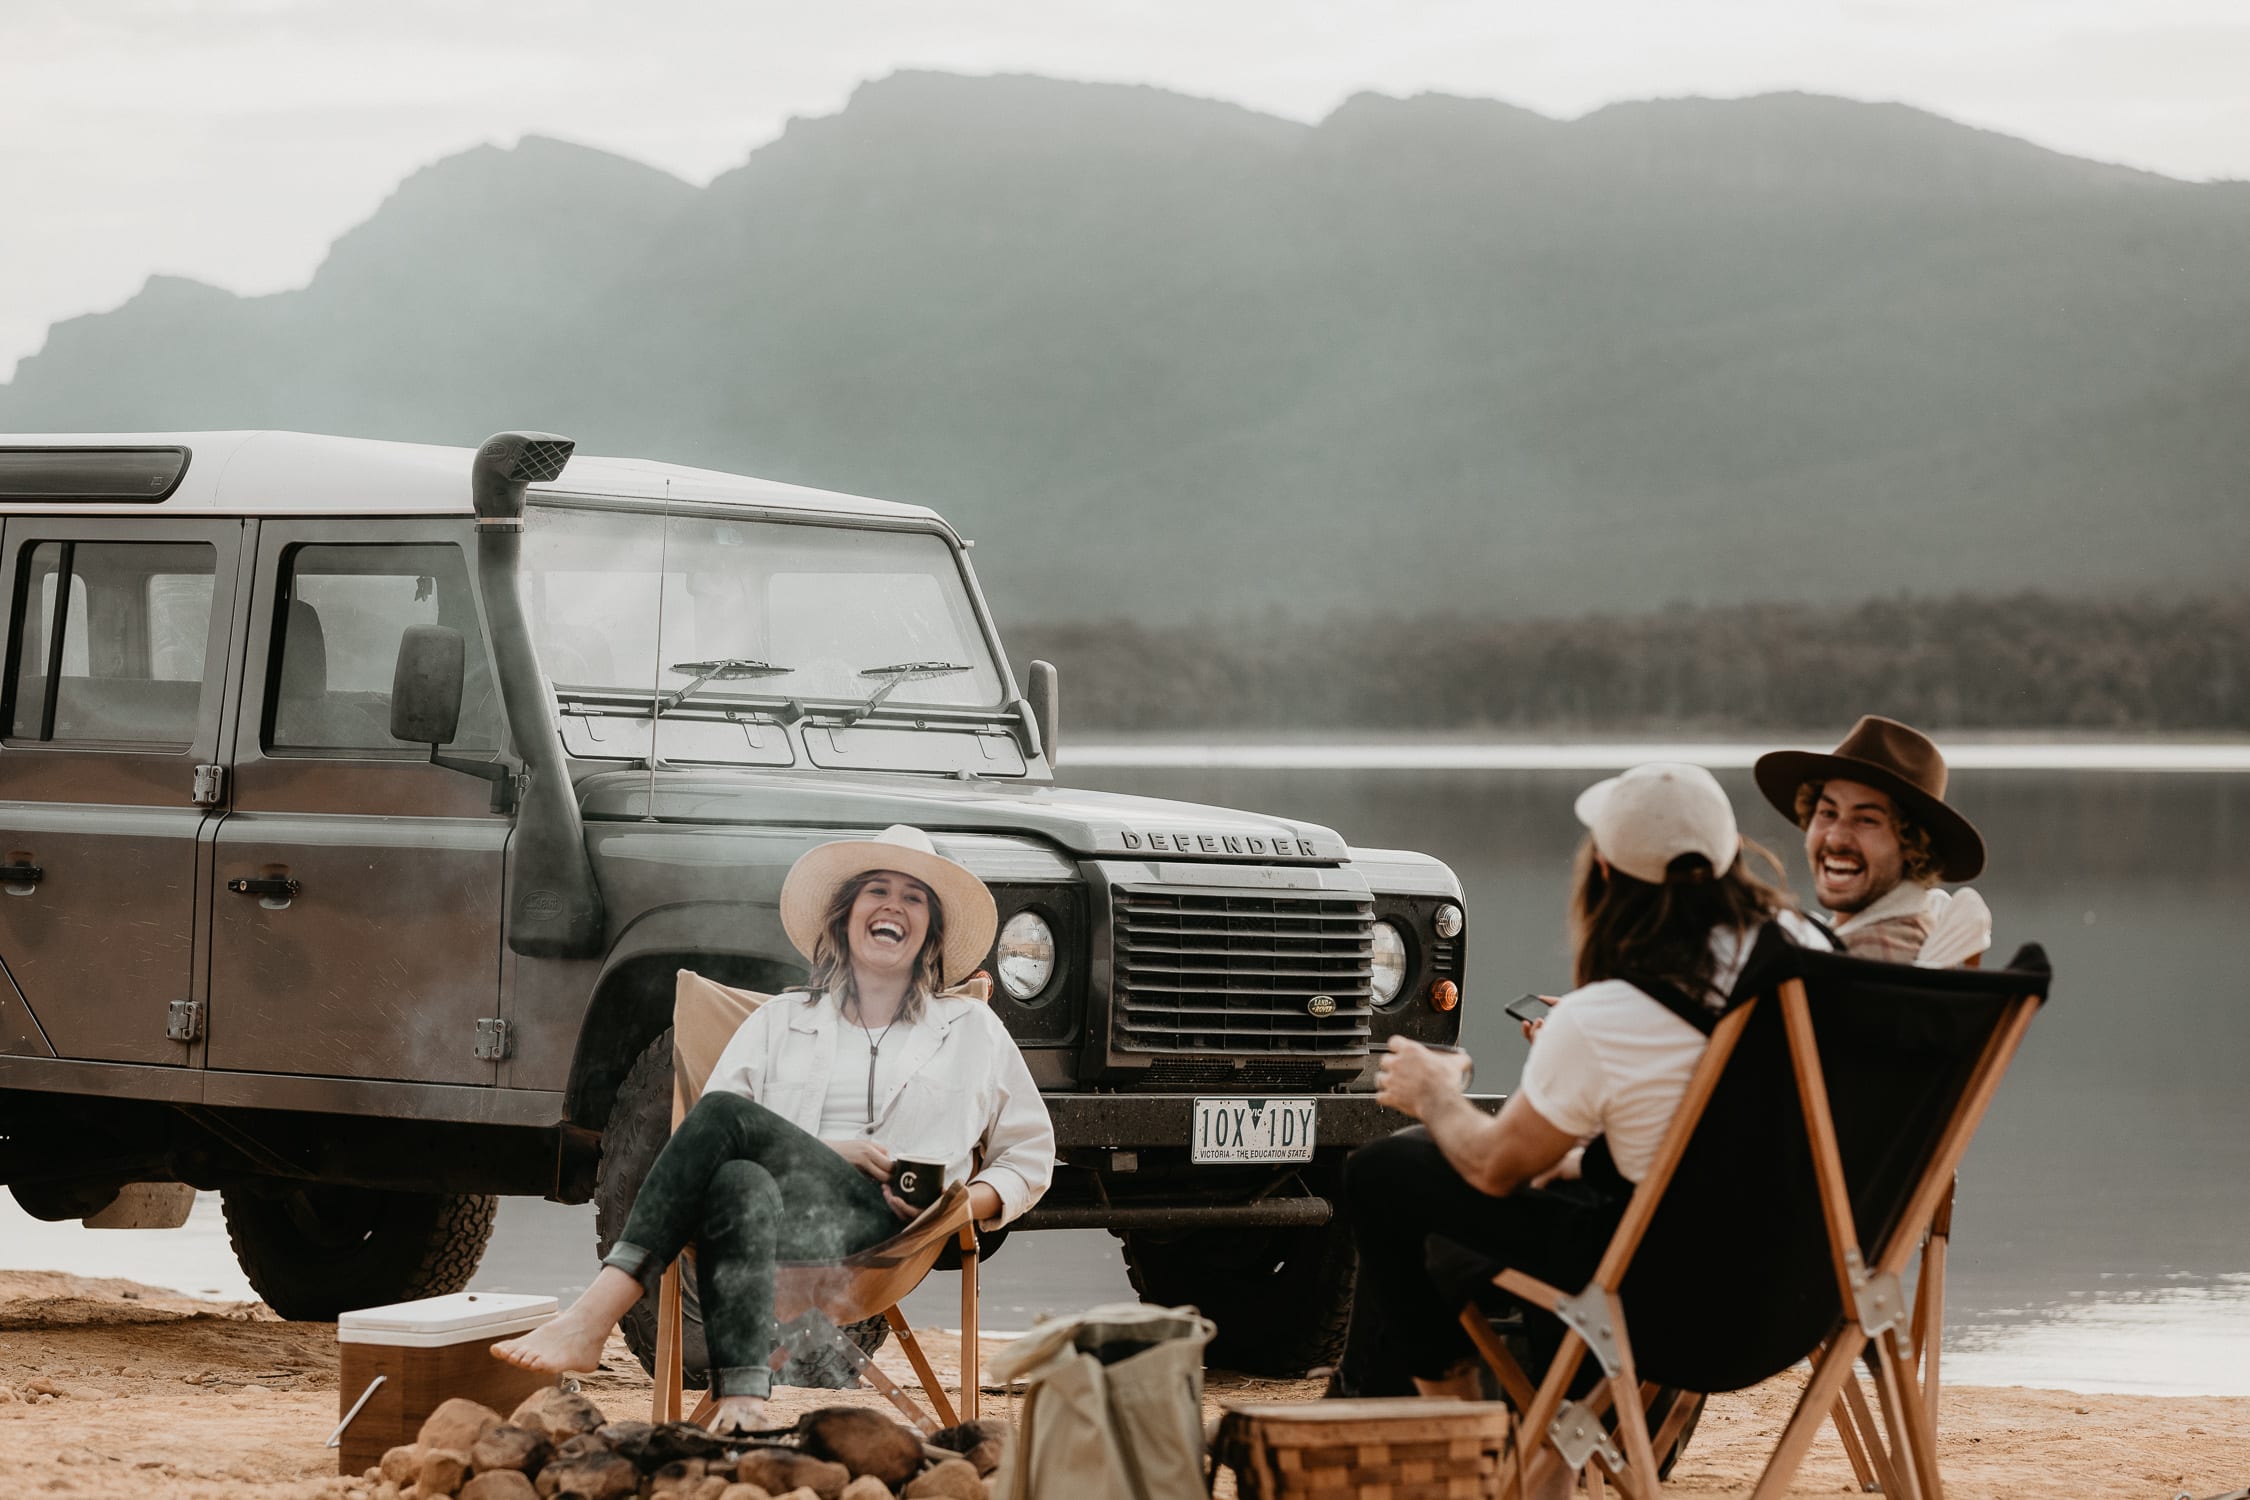 Car camping at its best. Image Brook James.
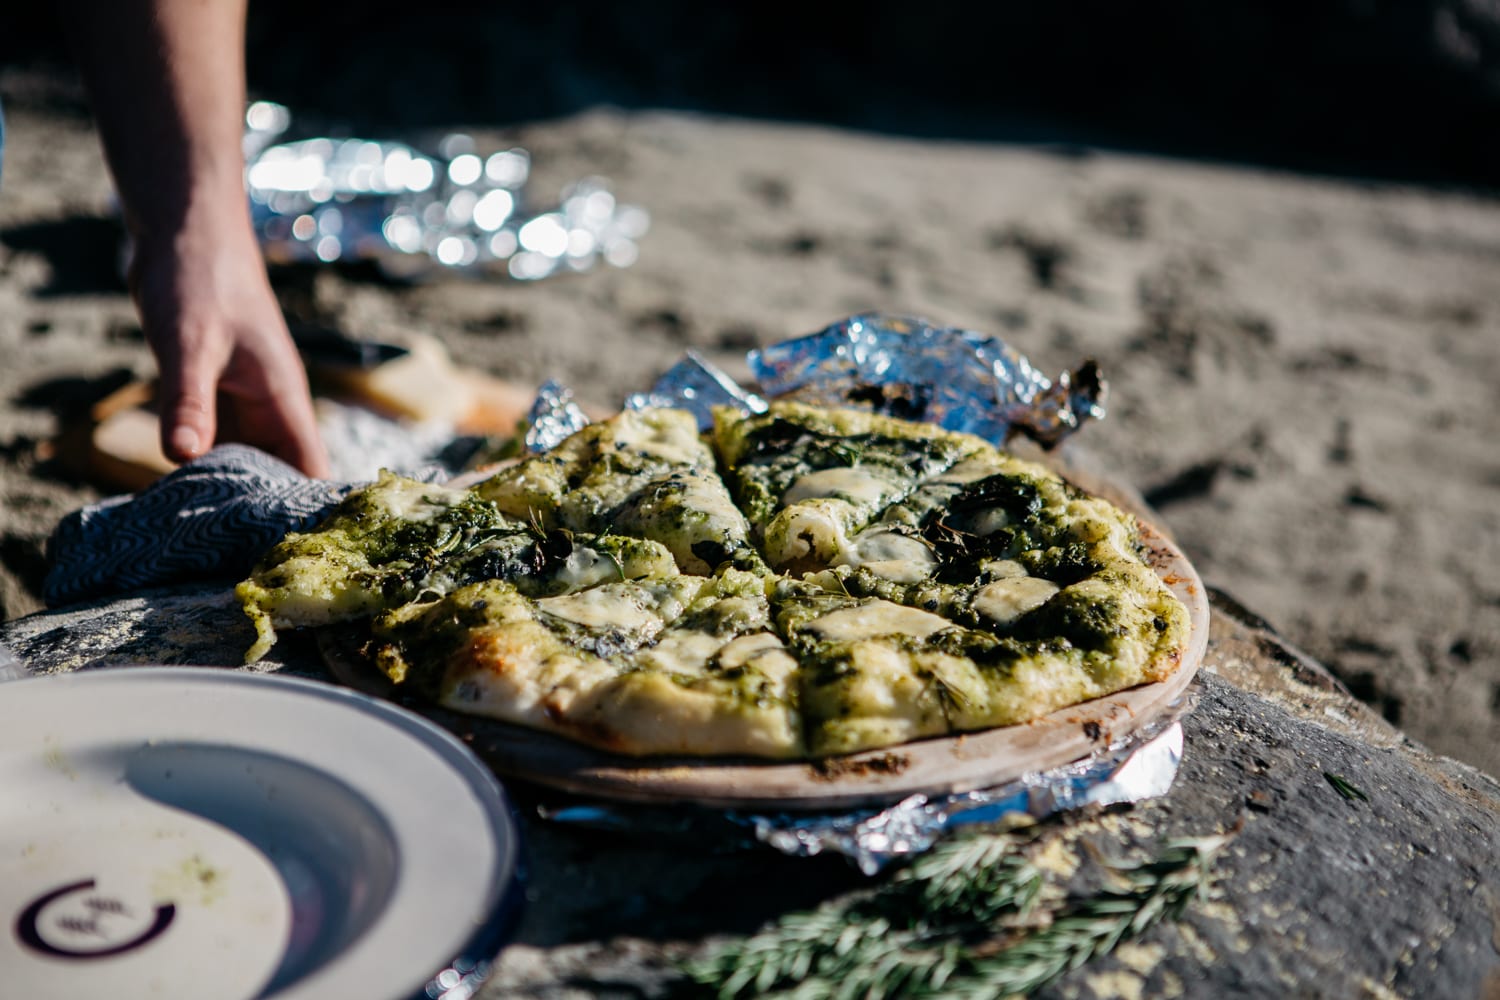 Take things up a notch with campfire pizza. Image Sarah Glover.
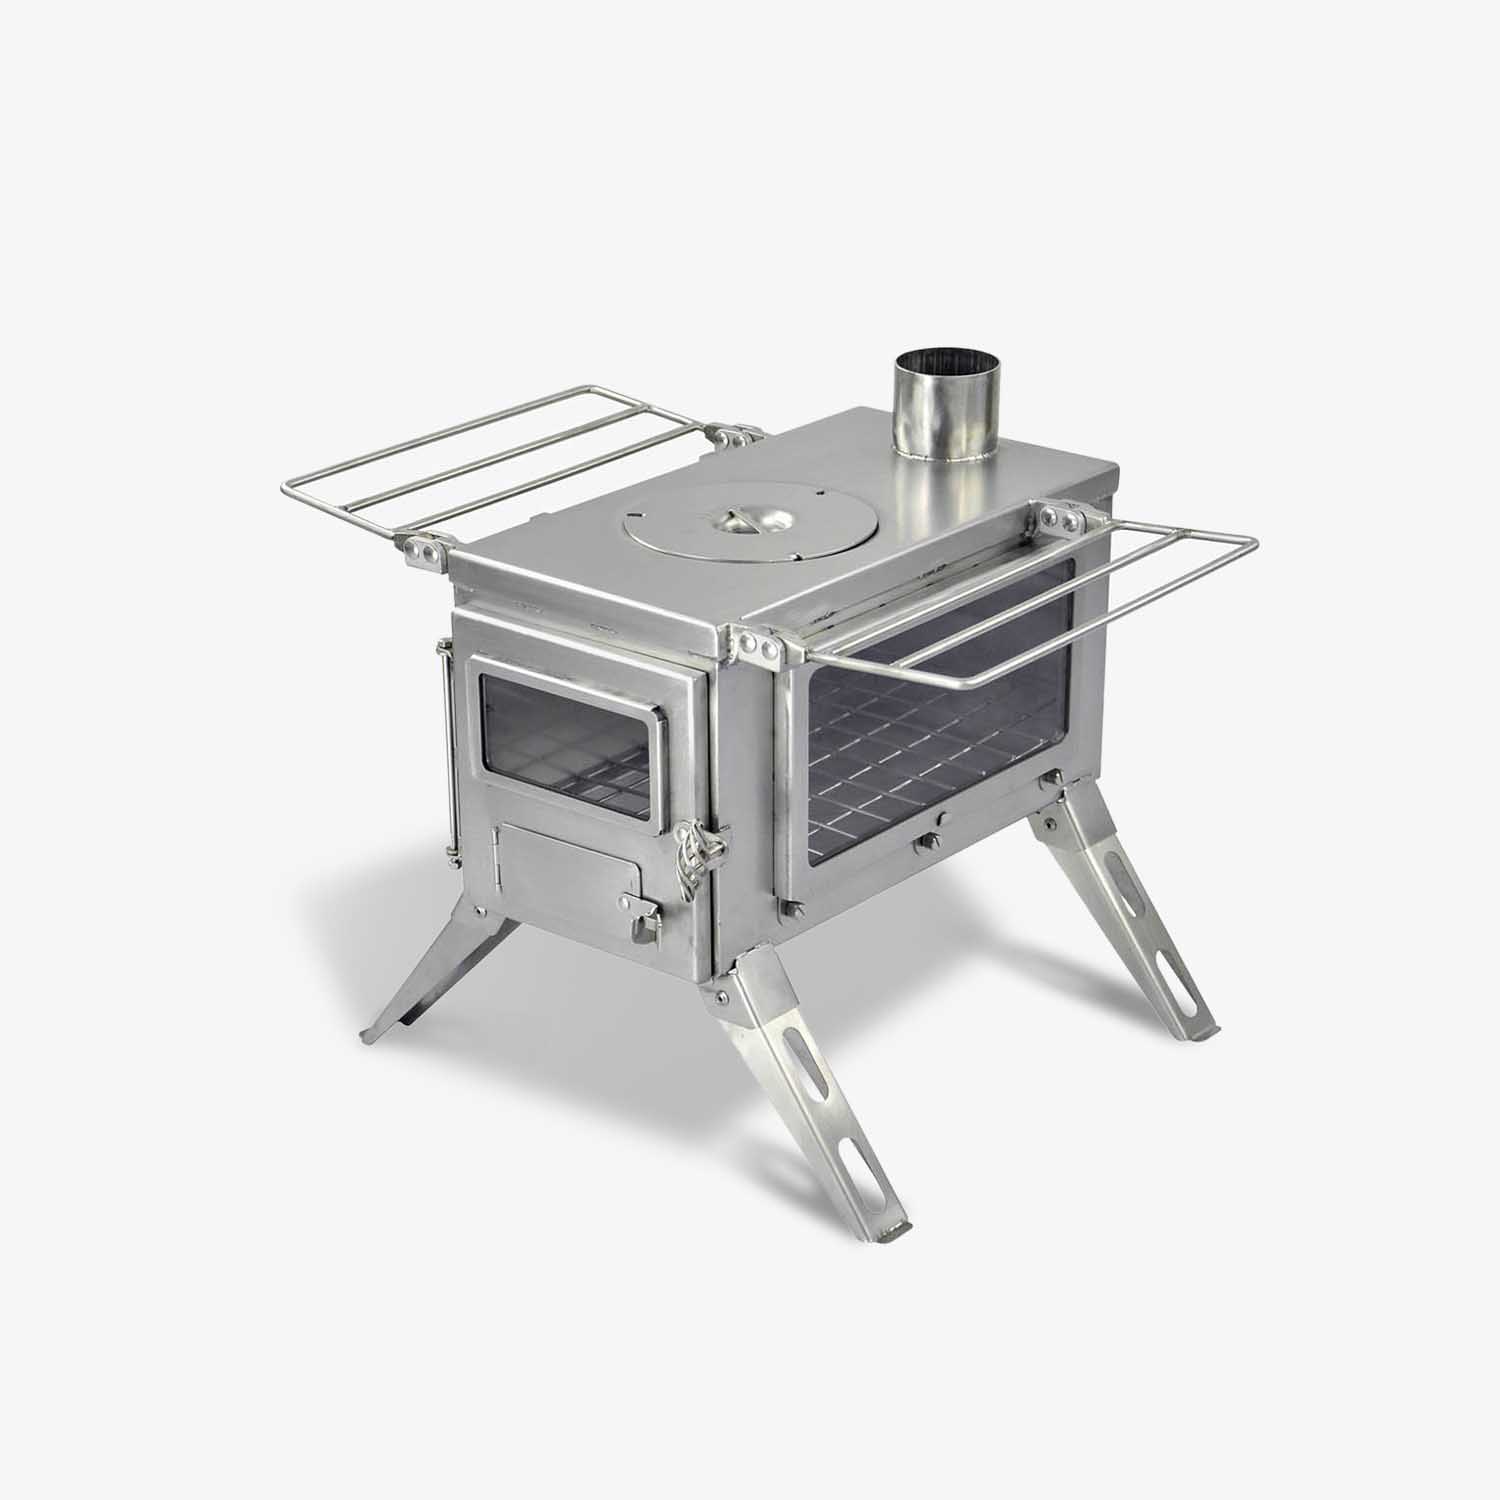
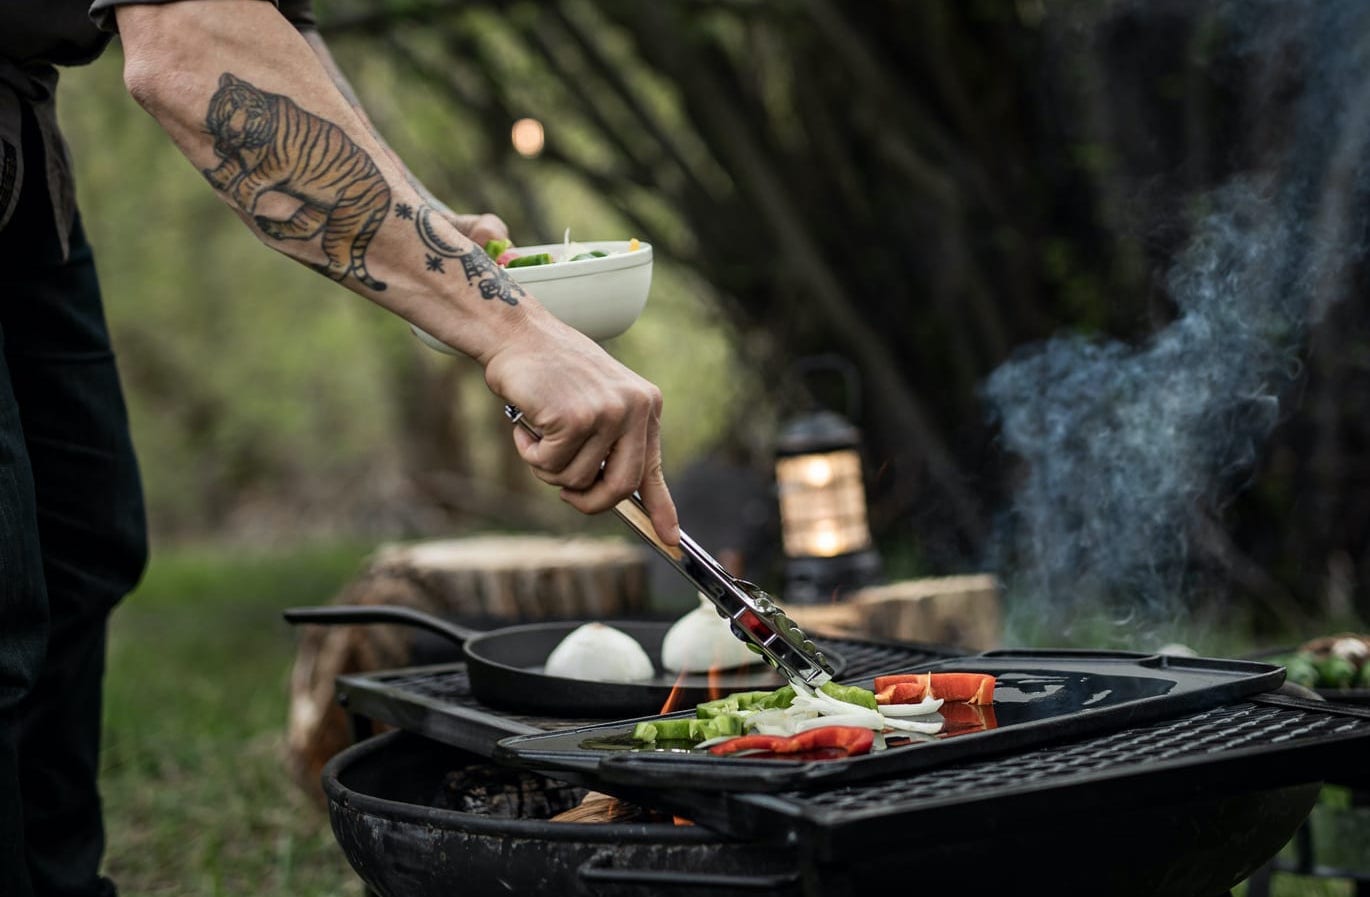 Grill time. Image Barebones Australia.
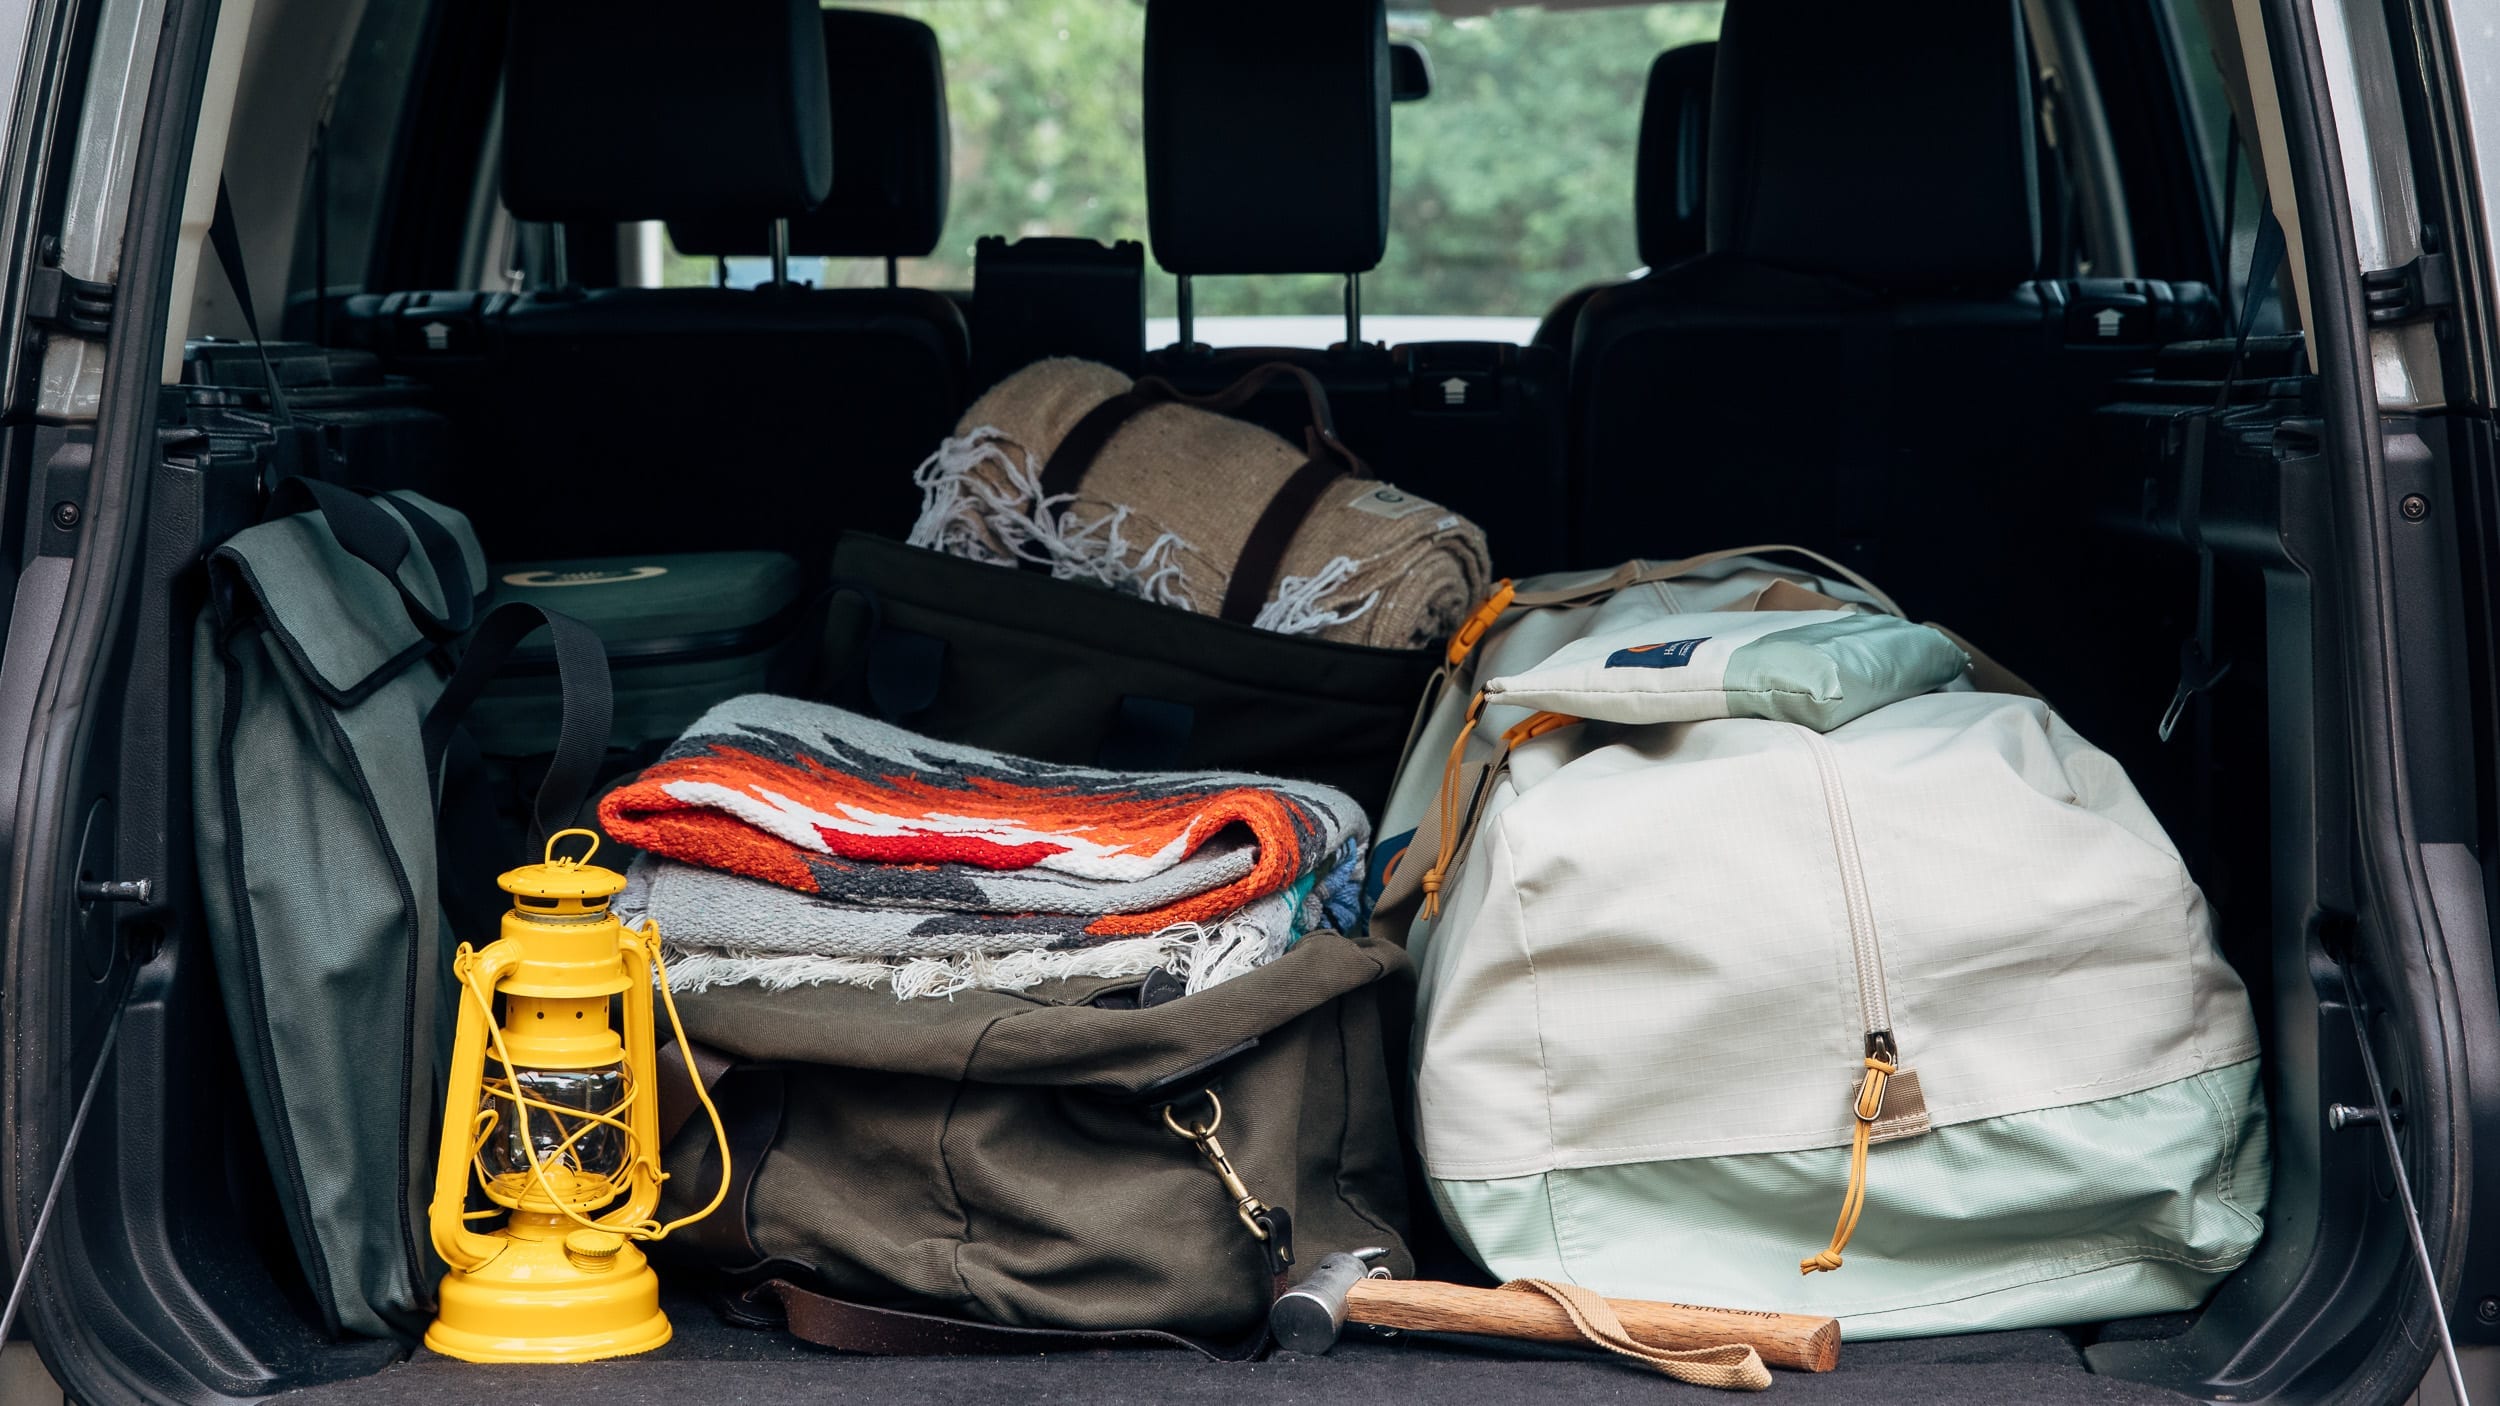 All the essentials.
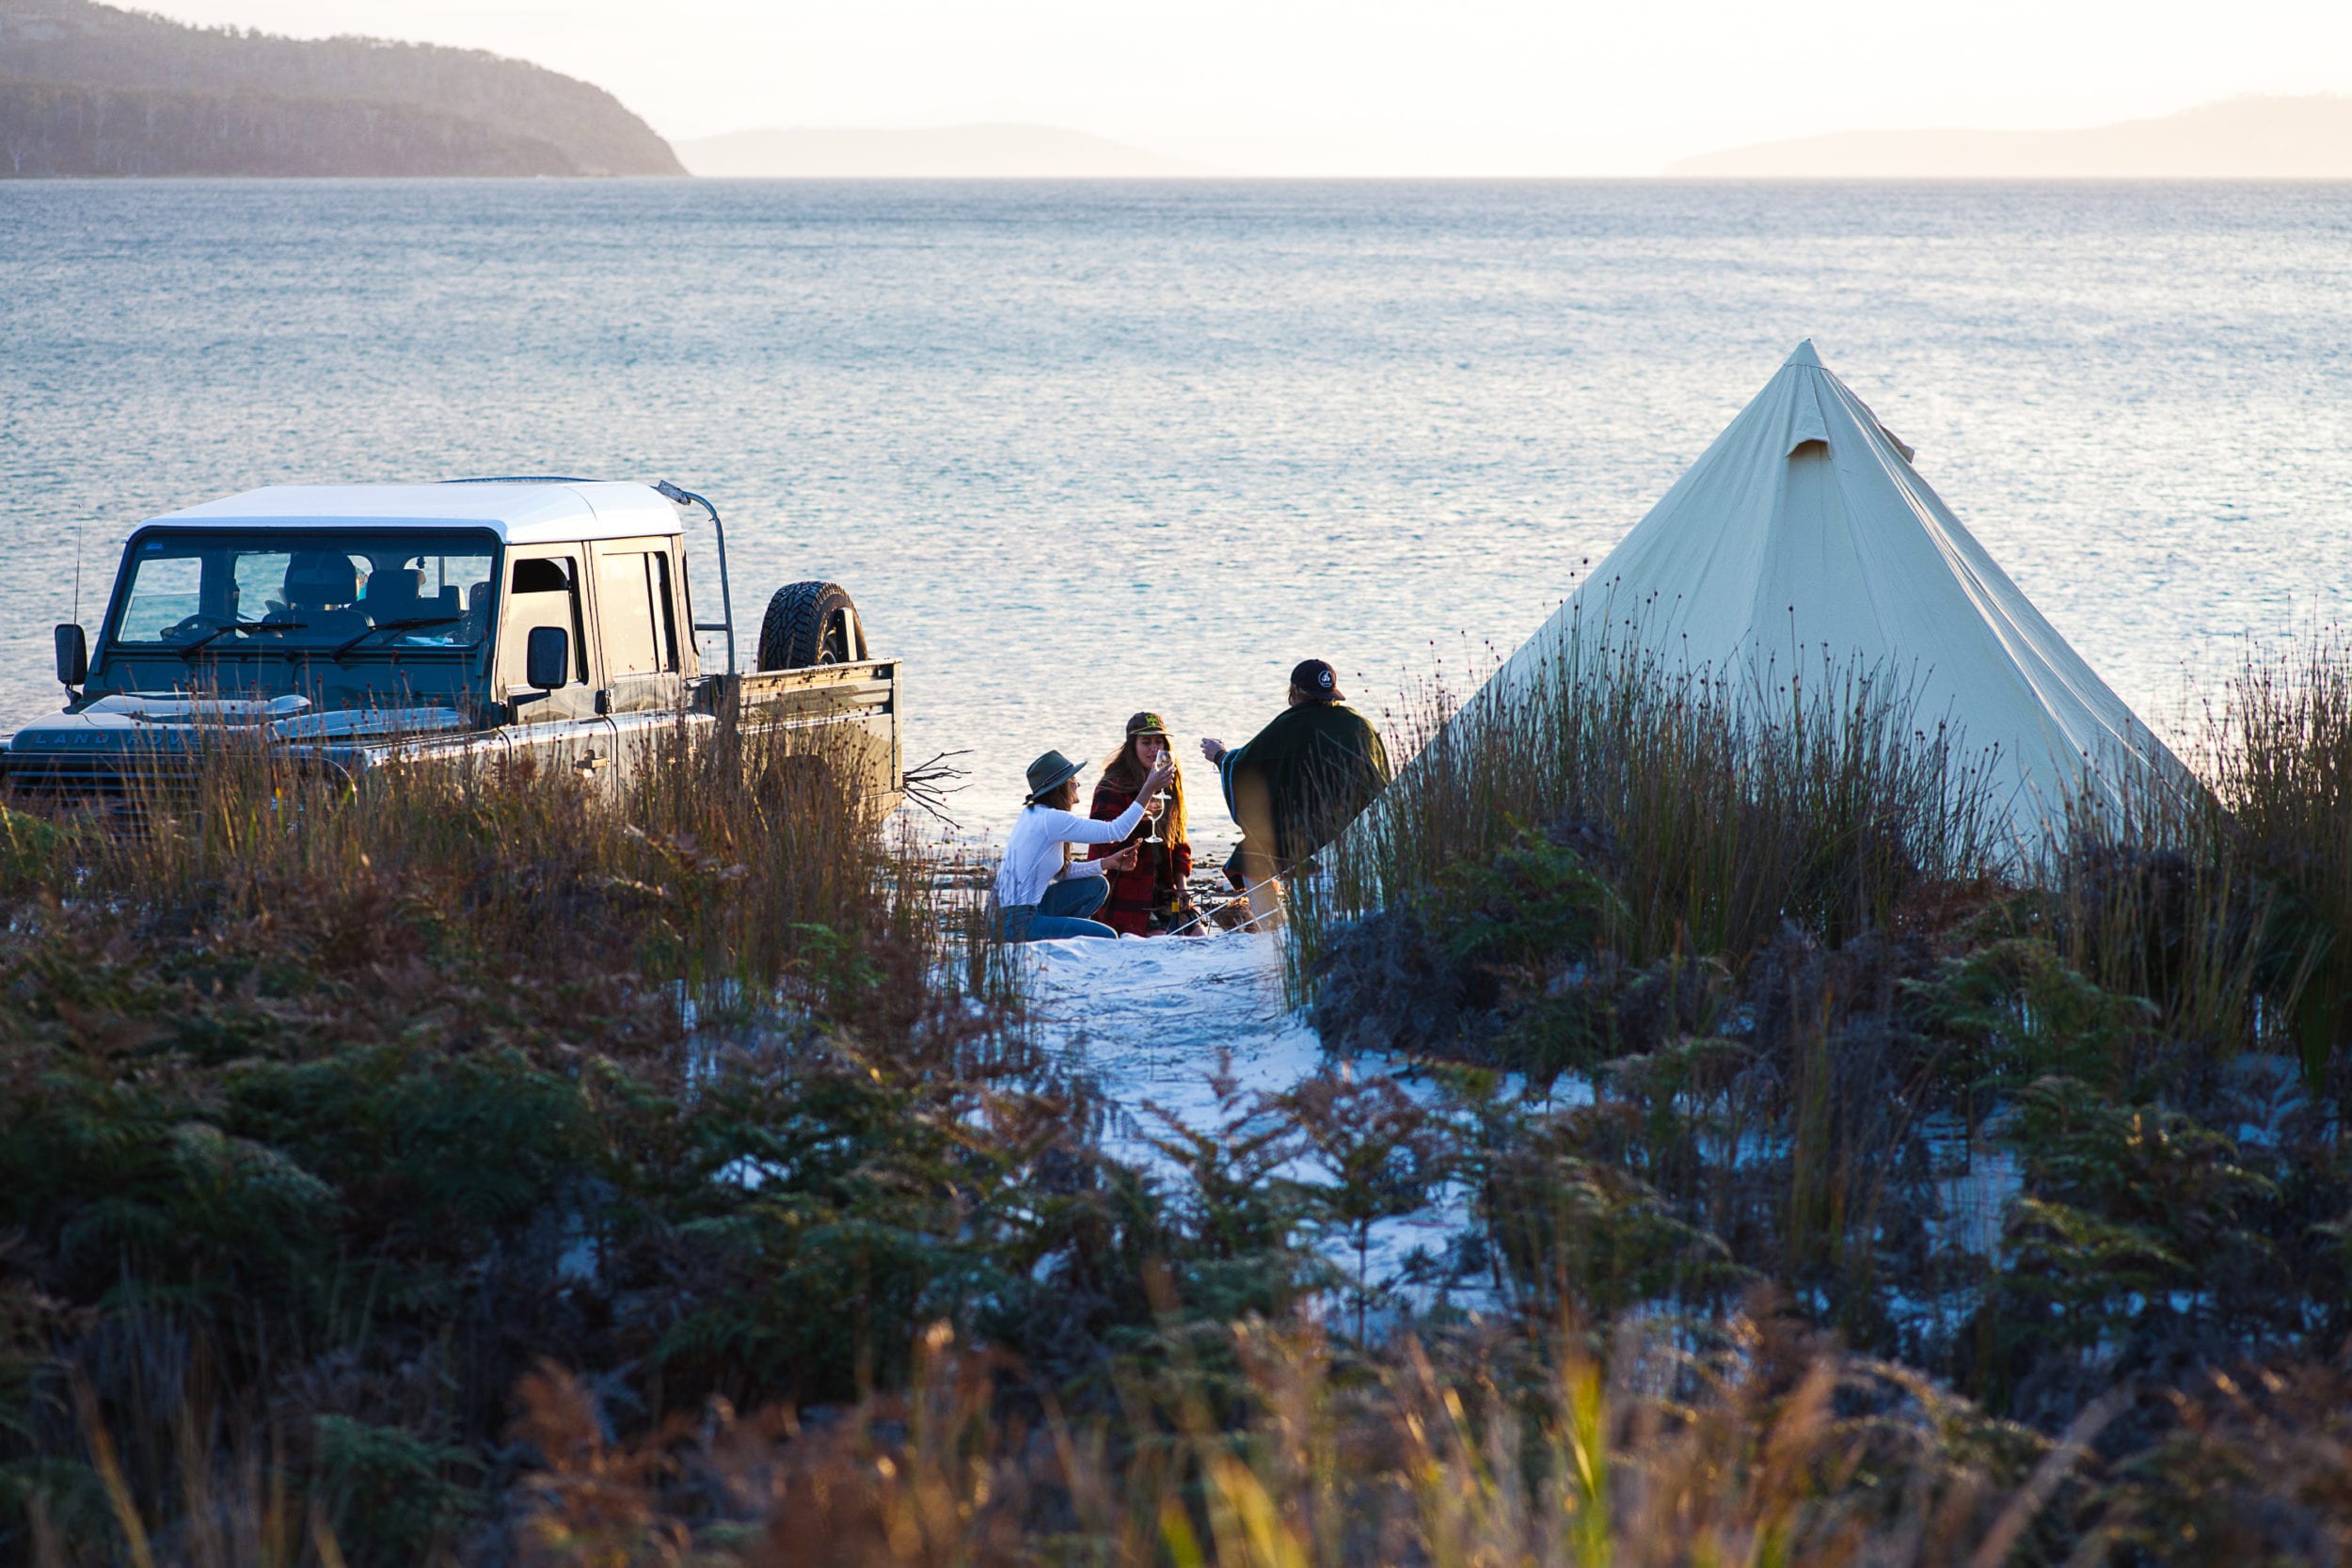 Image Sarah Glover.