 Image: Padraig Croke
 The folding Silky Saw is a great tools for getting the job done.
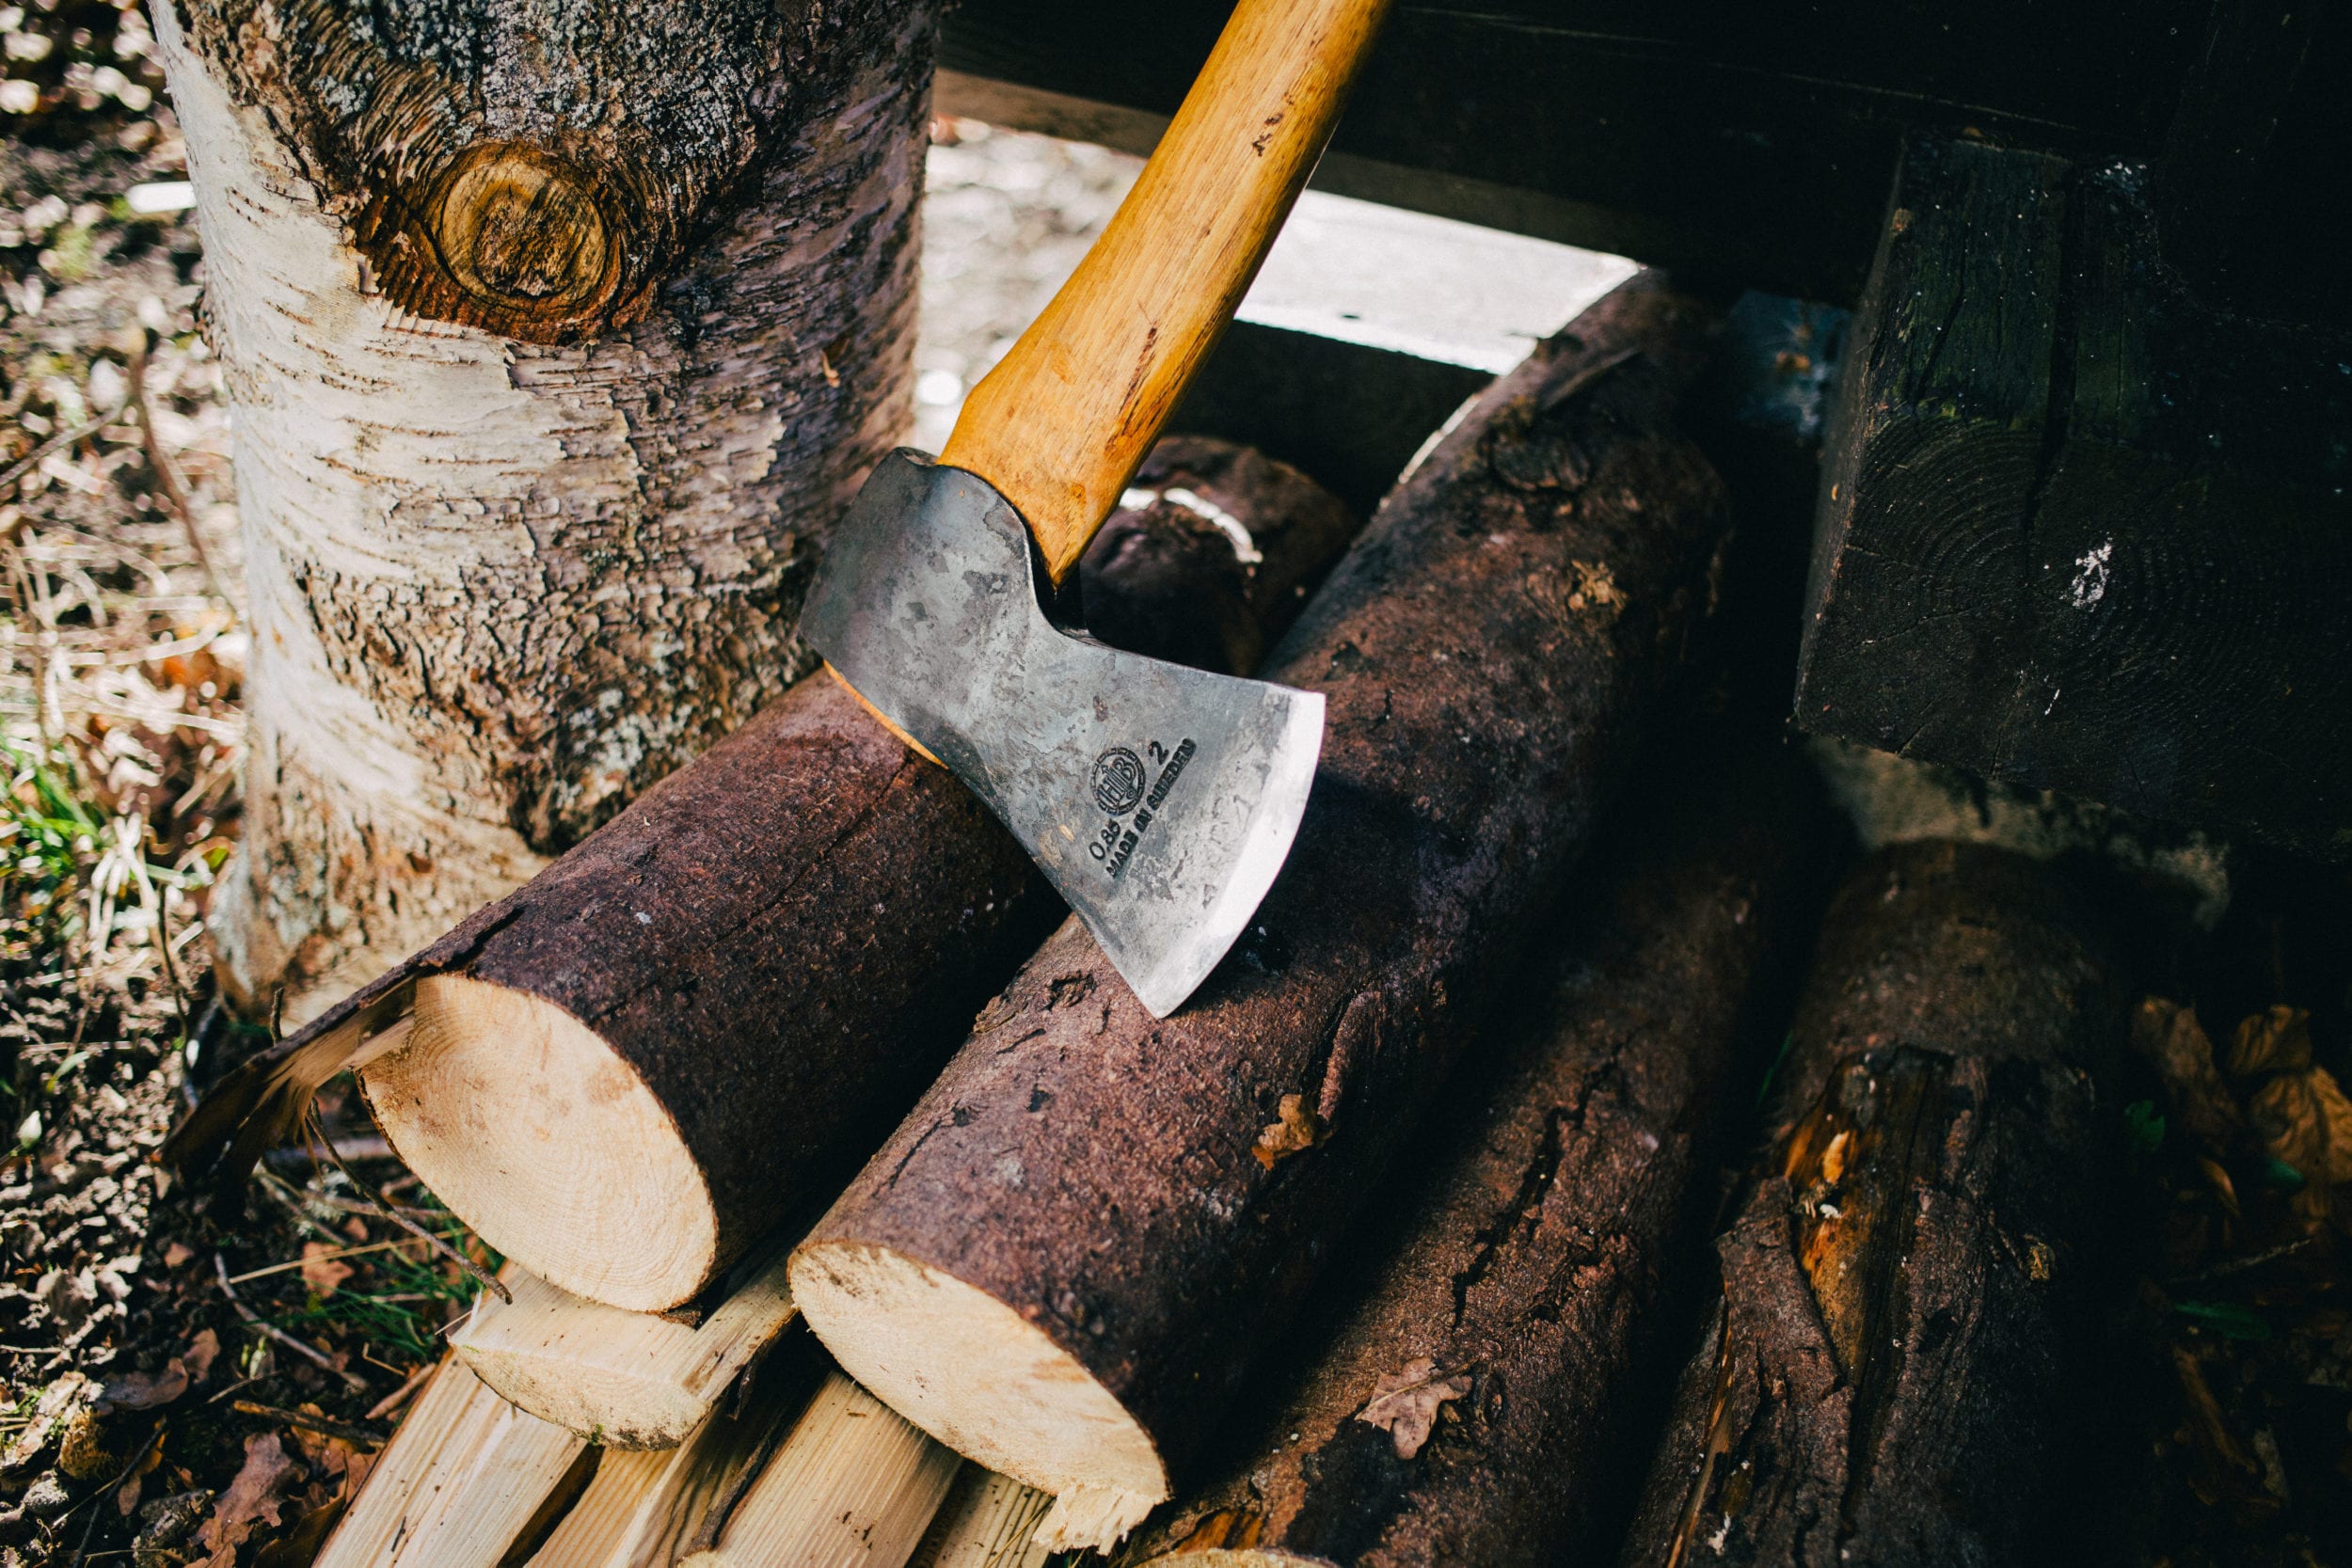 Image: Padraig Croke
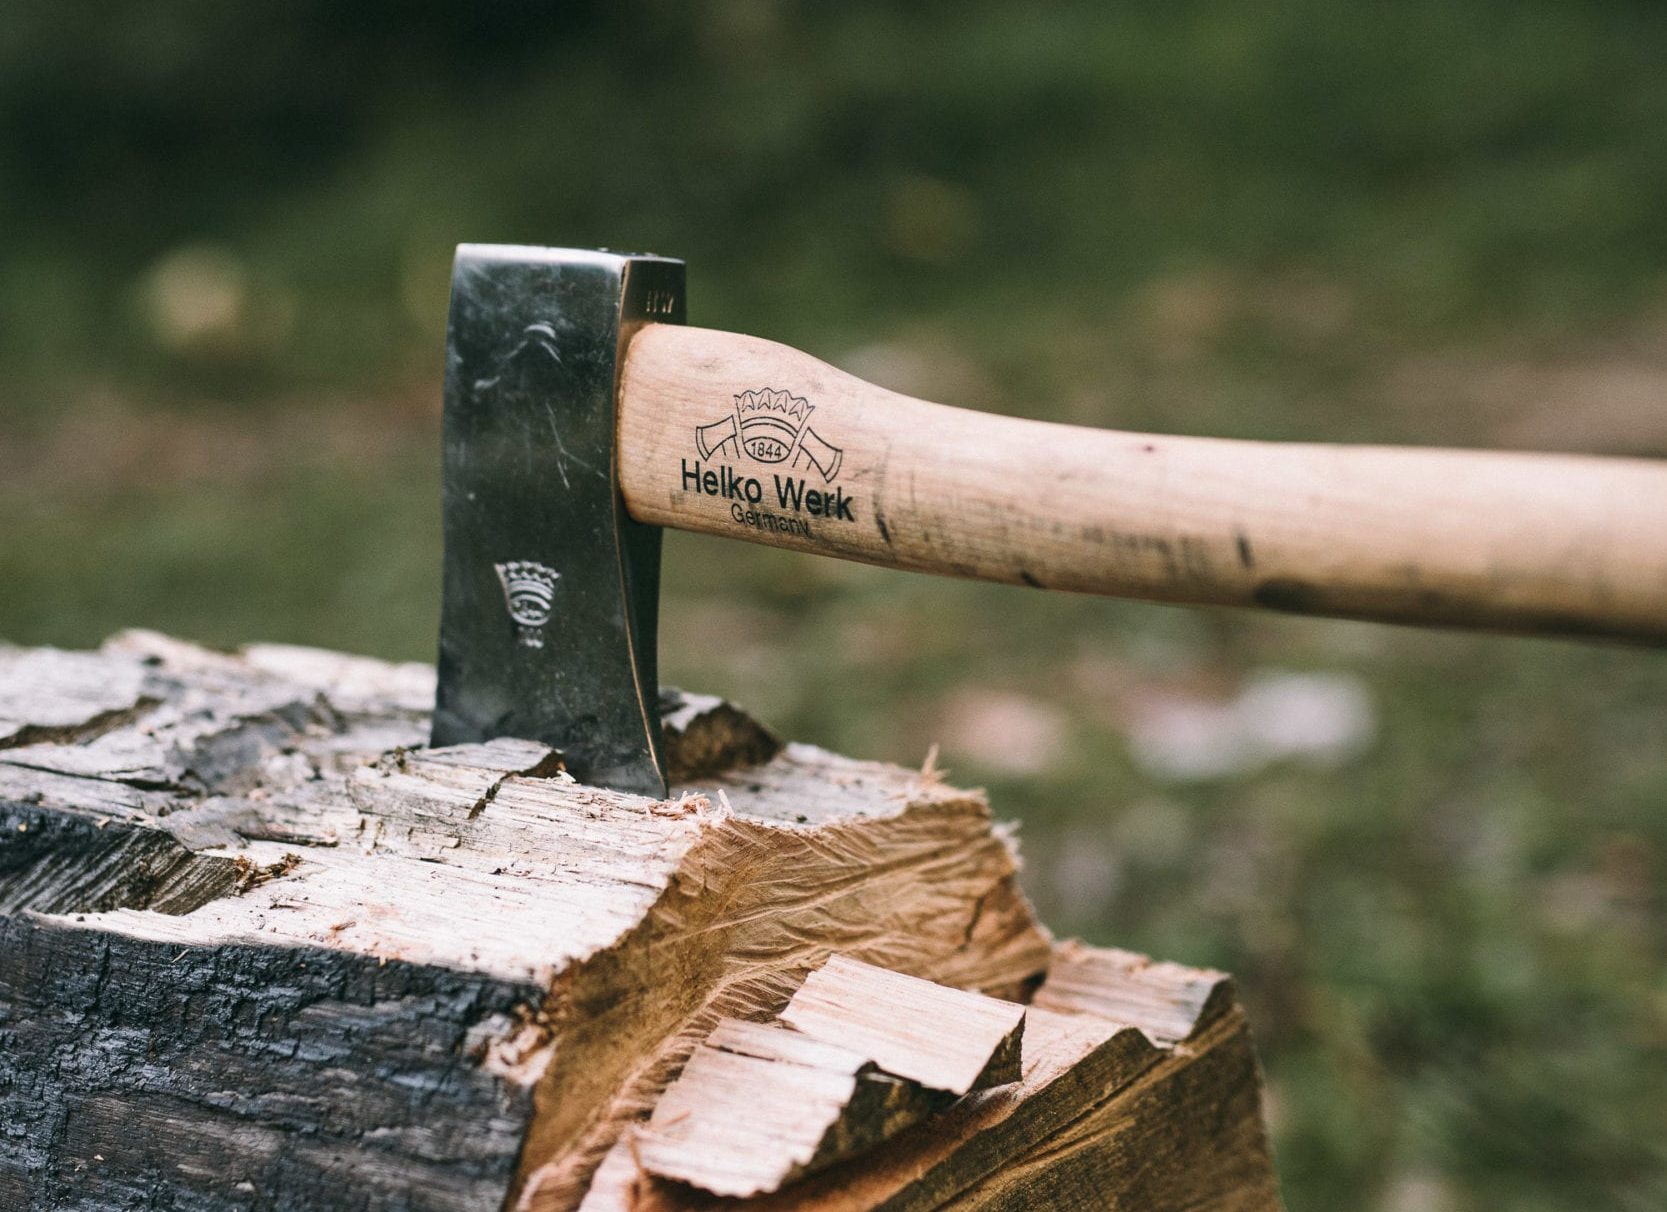 Helko Werk Axe - Image Brook James
 Setting up camp. Image: Brook James
 Image: Padraig Croke
 Image: Andrew Northover
 Image: Padraig Croke


