
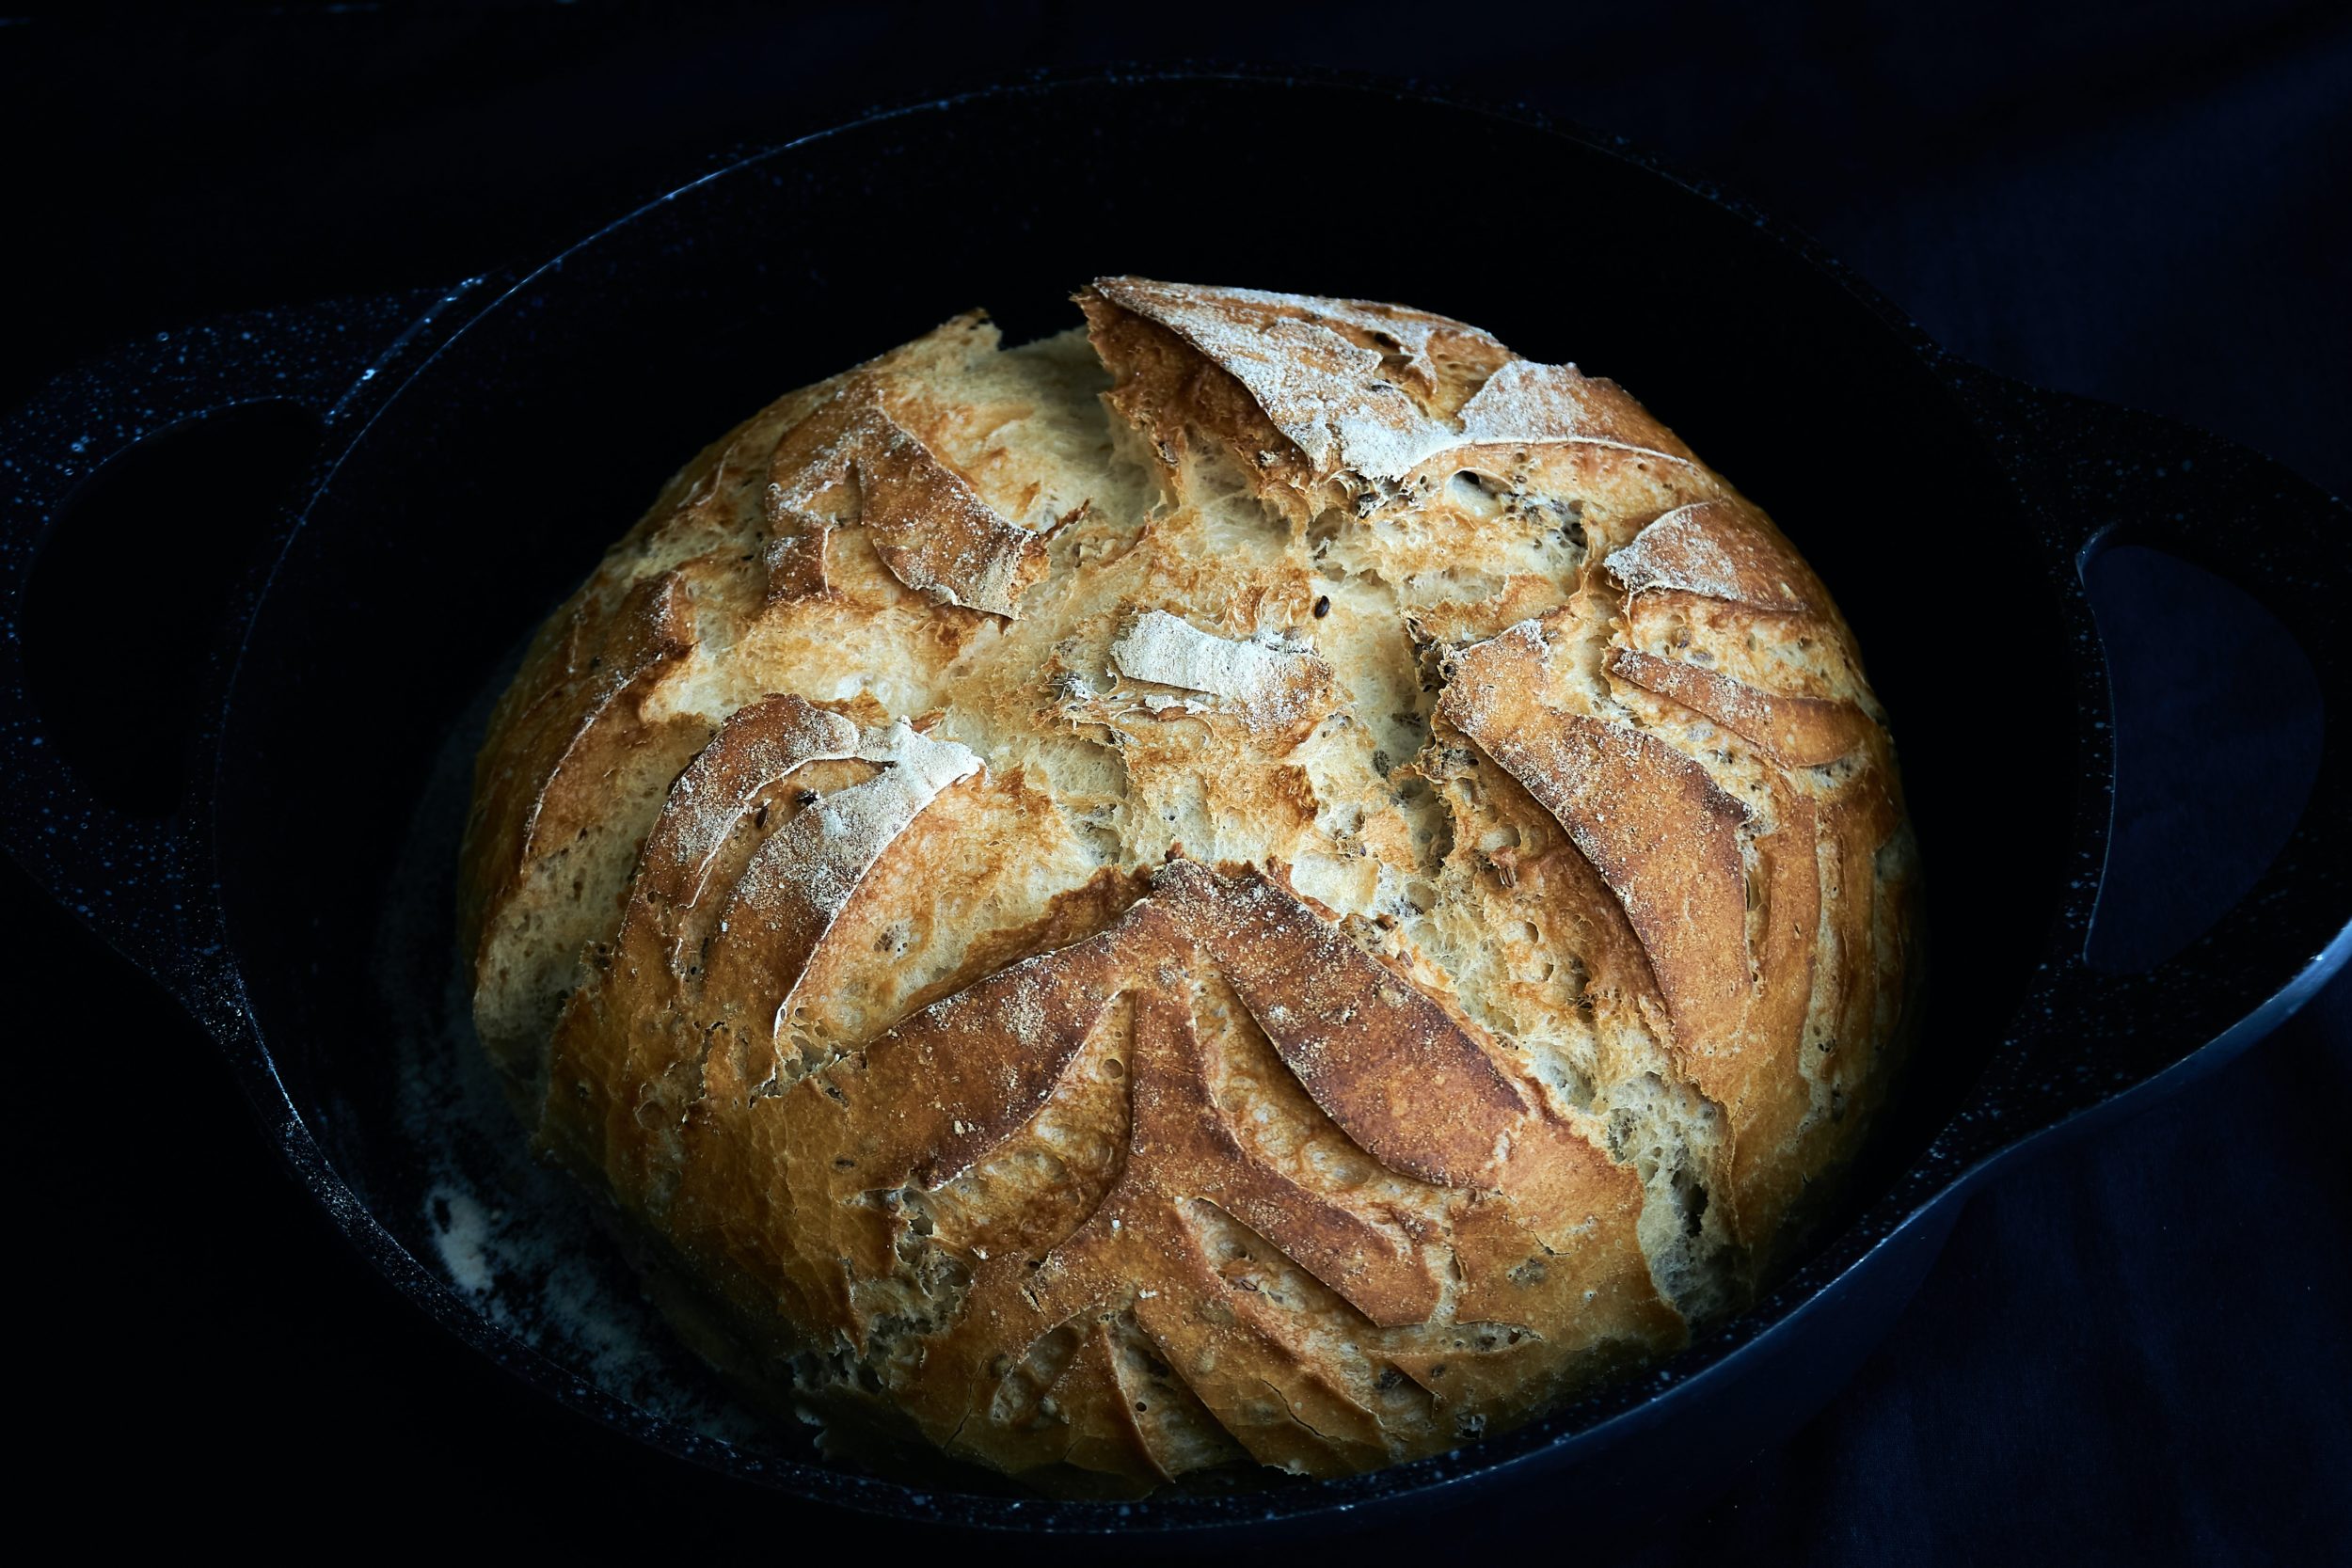
There’s nothing quite as satisfying or simple as making soda bread over a crackling campfire. This classic Irish bread is known as damper in Australia and a bannock in Scotland – it tastes delicious wherever you make it (and whatever you call it). This recipe has few ingredients and very little preparation, yet will impress your fellow campers no end.
You will need:
- 2 cups flour (we use a combination of organic wholemeal and white flour – feel free to experiment)
- 1 tsp salt
- 1 level tsp bicarbonate of soda (baking soda)
- 1 cup buttermilk (or 1 cup milk mixed with 1 tbsp lemon juice) 100 g (3½ oz) butter, cold
- 3 tbsp honey
Optional add-ins:
- ¹⁄³ cup mixed grain and seed blend, mixed in after you’ve blended the wet and dry ingredients: sunflower seeds, millet, pumpkin seeds, rolled oats, etc, to add some texture
- ¾ cup sourdough starter, added to the wet mix for a healthy, fermented bread
- Replace the buttermilk with probiotic yoghurt or even dark stout
Sidebar
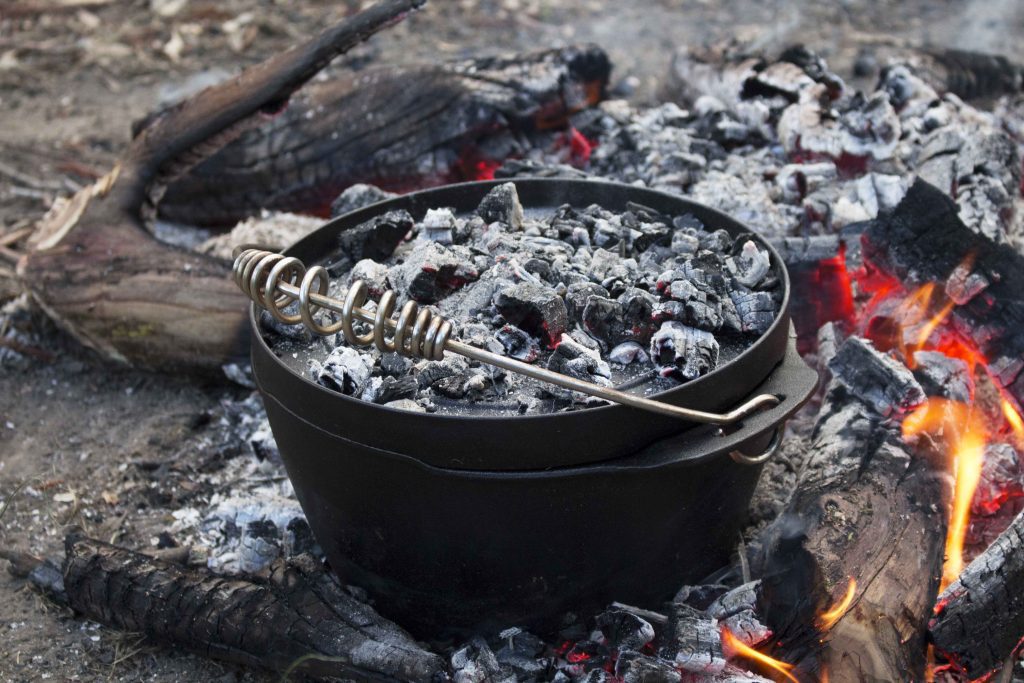 Barebones Dutch Oven covered in hot coals for consistent temperature.
Preparing the dough
Thoroughly combine flours, bicarbonate of soda and salt in a large bowl. We sieve these ingredients together at home and take them camping in a resealable plastic bag or container. Put the buttermilk in a medium bowl. In a small pan, warm the butter by the fire until soft, then pour it into the buttermilk. Stir in the honey and mix everything together until well combined.
Make a well in the centre of the dry flour mix and slowly pour the wet mix into it. Stir with a wooden spoon for about a minute until the mixture comes together – stir steadily, but not vigorously. If the mix is too dry to form a dough, add a tablespoon or two of milk or water.
Spoon the mix onto a lightly floured surface, such as a chopping board, then knead the dough with floured hands until you achieve a soft and almost fluffy texture. Don’t overdo the kneading – just four or five kneads should be enough. The bi-carb soda and buttermilk will react as soon as they meet, and minimal handling will help preserve this reaction. The idea is to get the bread into the Dutch oven while that reaction is still going strong, which means as quickly as possible.
Shape the mixture into a ball, then flatten slightly using the palm of your hand. Dip a knife in flour and make a deep cross through the centre of the bread, extending each line out to the dough’s edges. This will make it easy to break the bread into quarters after it is baked.
Prepping the fire and Dutch oven
The key to cooking bread in a Dutch oven is getting a consistent temperature around the whole pot. Make sure your campfire includes plenty of hardwood that had been burning long enough to produce a good number of hot coals. Using a kitchen towel or newspaper, wipe the inside of your Dutch oven with a thin coating of oil or butter, then dust with flour.
Preheat the Dutch oven by placing it directly on the bed of hot coals. Nestle the ball of dough in the centre of the oven. Put the lid on the pot, making sure no steam is escaping. Push the Dutch oven down into the bed of coals, then use a shovel to cover the lid with coals and embers. You may need to repeat this process during the bake.
Baking and finishing
Bake until the crust is golden brown.The cooking time depends on how hot your coals are, but it generally takes 25 to 35 minutes. To see if your bread is baked, push a knife into the middle of the loaf; if the knife comes out clean, then the bread is done. If the knife comes out wet, with some bread dough sticking to it, then it needs more time.When done, it will also sound hollow when tapped underneath.This bread tastes great even if it’s a little under- or overdone, so you don’t need to worry about the bake being perfect.
Remove the bread from the oven, brush the top with butter and let it cool under a moist tea towel. Eat as soon as possible with a hearty meal.
Sidebar


